6 NEED TO KNOW PRODUCT PHOTOGRAPHY TIPS AND ALSO TECHNIQUES
They say a picture deserves a thousand words so If a image deserves a thousand words, an amazing item picture is worth a thousand web site gos to and also sales.
There's no question concerning it, product photography is extremely beneficial to your eCommerce website approach.To reach, attract and convert your target audience that prefer purchasing online, you additionally require to provide your target market clear, eye-catching images of your items.
Here are 6 product photography suggestions as Visit this link well as techniques that are convenient to recognize.
1. DON'T HESITATE TO USAGE YOUR SMARTPHONE'S CAMERA
My initial product photography pointer is to utilize your smartphone camera to fire your item images.
A great deal of product digital photographers like myself have invested thousands of bucks into video cameras and lenses, yet do not believe you need to also.
Do not fret, I'm not mosting likely to do to attempt to persuade you to invest huge quantities of cash into a brand-new camera.
If you already possess a camera that fits this description, take benefit of it.
For numerous types of products, it's totally appropriate to shoot item images on a mobile phone.Why? Today's smartphones that get on the marketplace brag amazing and effective camera lenses that are so sharp as well as clear with settings that permit you to truly optimise your shots for the different sorts of light and also environments you might shoot in.
2. SHOOT FROM A TRIPOD FOR PHOTO CONSISTENCY
My following product photography pointer is going to start with a primary policy: Do not prop your phone against something to intend your lens towards the topic.
The simple reason that you should not it's that It's also very easy for this makeshift installing setup to glide about during the shoot and also cause variances in your photos.As well as to be straightforward you will certainly simply squander a load of time establishing it up and making modifications to get it to place properly.
You can hold your camera on your own when shooting just a few product photos https://anotepad.com/notes/284qysmb for your eCommerce web site.
As your service expands, and you begin to take more photos of also more items, it will become a lot more hard to standardise the orientation of your product's in each image when firing their handheld.
To ensure uniformity across all your items, you'll require to invest in a tripod.
And also luckily, acquiring one isn't a large investment.
A tripod will certainly save you so much time in setting up your product photography set and ensure you have tidy as well as visually appealing product pictures.
3. PICK NATURAL LIGHT OR ARTIFICIAL LIGHT
My following product photography tip is all about lighting as well as what lighting is best for your items.
Particular sorts of light can boost or hinder your product photography.Shopping is a hassle-free as well as powerful device in marketing items however keep in mind, purchasers, get the most effective look at a product face to face, where they can see everything they desire regarding the item prior to purchasing it.
The ideal illumination arrangement assists you disclose those important as well as vital decision-making product features when all web site site visitors need to go on is a photo.
A solitary lights setup might not benefit every item, be aware, a lights plan that helps some products could make the appearance of others not look so great.
There are 2 sorts of light you can choose as your main source of light: all-natural and man-made light.Natural light is your most affordable as well as most convenient light to utilize. You will just need to prepare your item photoshoot established near a home window where you obtain a nice amount of light through and shoot at times of the day where you obtain the right light to suit your aesthetic, the tone and feeling of your items.
Synthetic light, on the other hand, can be cheap but most times for a suitable illumination setup it can obtain costly. The advantages of using man-made light are that it's constant and also you can contend at any time of day and also obtain constant results.
I usually choose capturing with all-natural light as I enjoy the natural look it gives my images as well as will turn to synthetic light only if the weather condition doesn't enter my favour.
However what light you utilize is completely as much as you, the kinds of products you're shooting as well as your budget plan.
4. FILL UP OR BOUNCE YOUR LIGHT TO SOFTEN SHADOWS
Whether you utilize natural light or synthetic light, you'll need to reduce the variety of shadows that any prospective tough light casts on the contrary side of a product.
There are 3 means to do this:
LOAD LIGHT
A fill light methods you require to Include an additional, less-intense light source to supplement your main light. It's utilized as a counterbalance to soften the all-natural darkness your major light produces behind an item.
To do this, put your fill light opposite your major light so your item rests in between both source of lights.
FLASHBULB BOUNCE CARD
Jump cards connect to the outside flash of a specialist camera to diffuse the light from the flash once it fires.
This card distributes a softer light onto the topic from above your set as opposed to straight at it to offer you a softer as well as more all-natural look.
STANDALONE BOUNCE CARD
If you're firing from a mobile phone, a bounce card isn't an alternative, given that you don't have a physical flash you can affix it to.
Instead, you can make your own standalone bounce card which can be placed opposite to your primary light.
For newbies to product photography, a bounce card can properly change your fill light, which counters the tough light from the camera flash or light that's facing towards the front of your item.
5. USE A SWEEP OR PORTRAIT SETTING TO STRESS THE PRODUCT
There isn't one ideal way to place your product, lights, and also bounce cards-- they can alter significantly relying on your history. Don't choose a history based on what's most convenient to develop. Backgrounds ought to resemble exactly how you want your buyers to view your item when watching it online.
Take into consideration initially whether you would certainly such as a white history or a much more vibrant, real-world history. There's an easy way to accomplish every one.
WHITE HISTORY: MOVE
One of my crucial product photography suggestions is utilizing a sweep.
For white histories, it's not as easy as setting up a table versus a white wall surface, positioning your product and also capturing.
Smartphones and also expert video cameras are extraordinary when it involves their camera high quality and also they will pick up little imperfections on a white wall surface that you wouldn't notice with the nude eye.
To record a excellent white history without any edges or blemishes, utilize a sweep.

Simply, a move is a huge bendable sheet of paper. The bottom serve as the surface underneath your product and after that contours up into a white wall surface behind the item.
When you browse what your camera sees, the sweep's contour is invisible, stressing key product details and also allowing the item to possess every one of a web site visitor's interest instead of fighting against irritating interruptions.
Below's a side-by-side contrast revealing why a move matters:
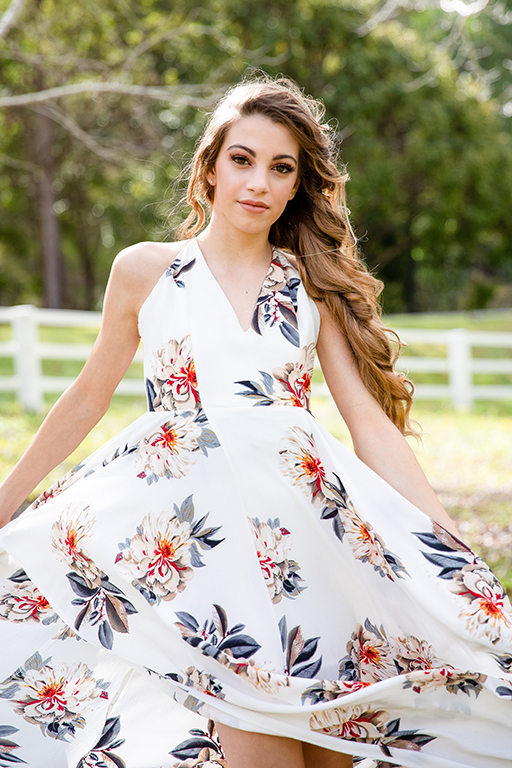
REAL-WORLD HISTORY: PICTURE MODE
Real-world backgrounds are really appealing when shooting items that have a details usage or are being designed by a person.
the only issue is that it's easy for a real-world background to take the emphasis of the photo which can make it really hard and also uncertain which thing in the picture you're really marketing.
The option to the problem is to provide your product some deepness and focus by switching your digital camera and even smartphones camera to portrait setting.
Picture mode obscures the background so the item is clear but not competing versus the product itself.
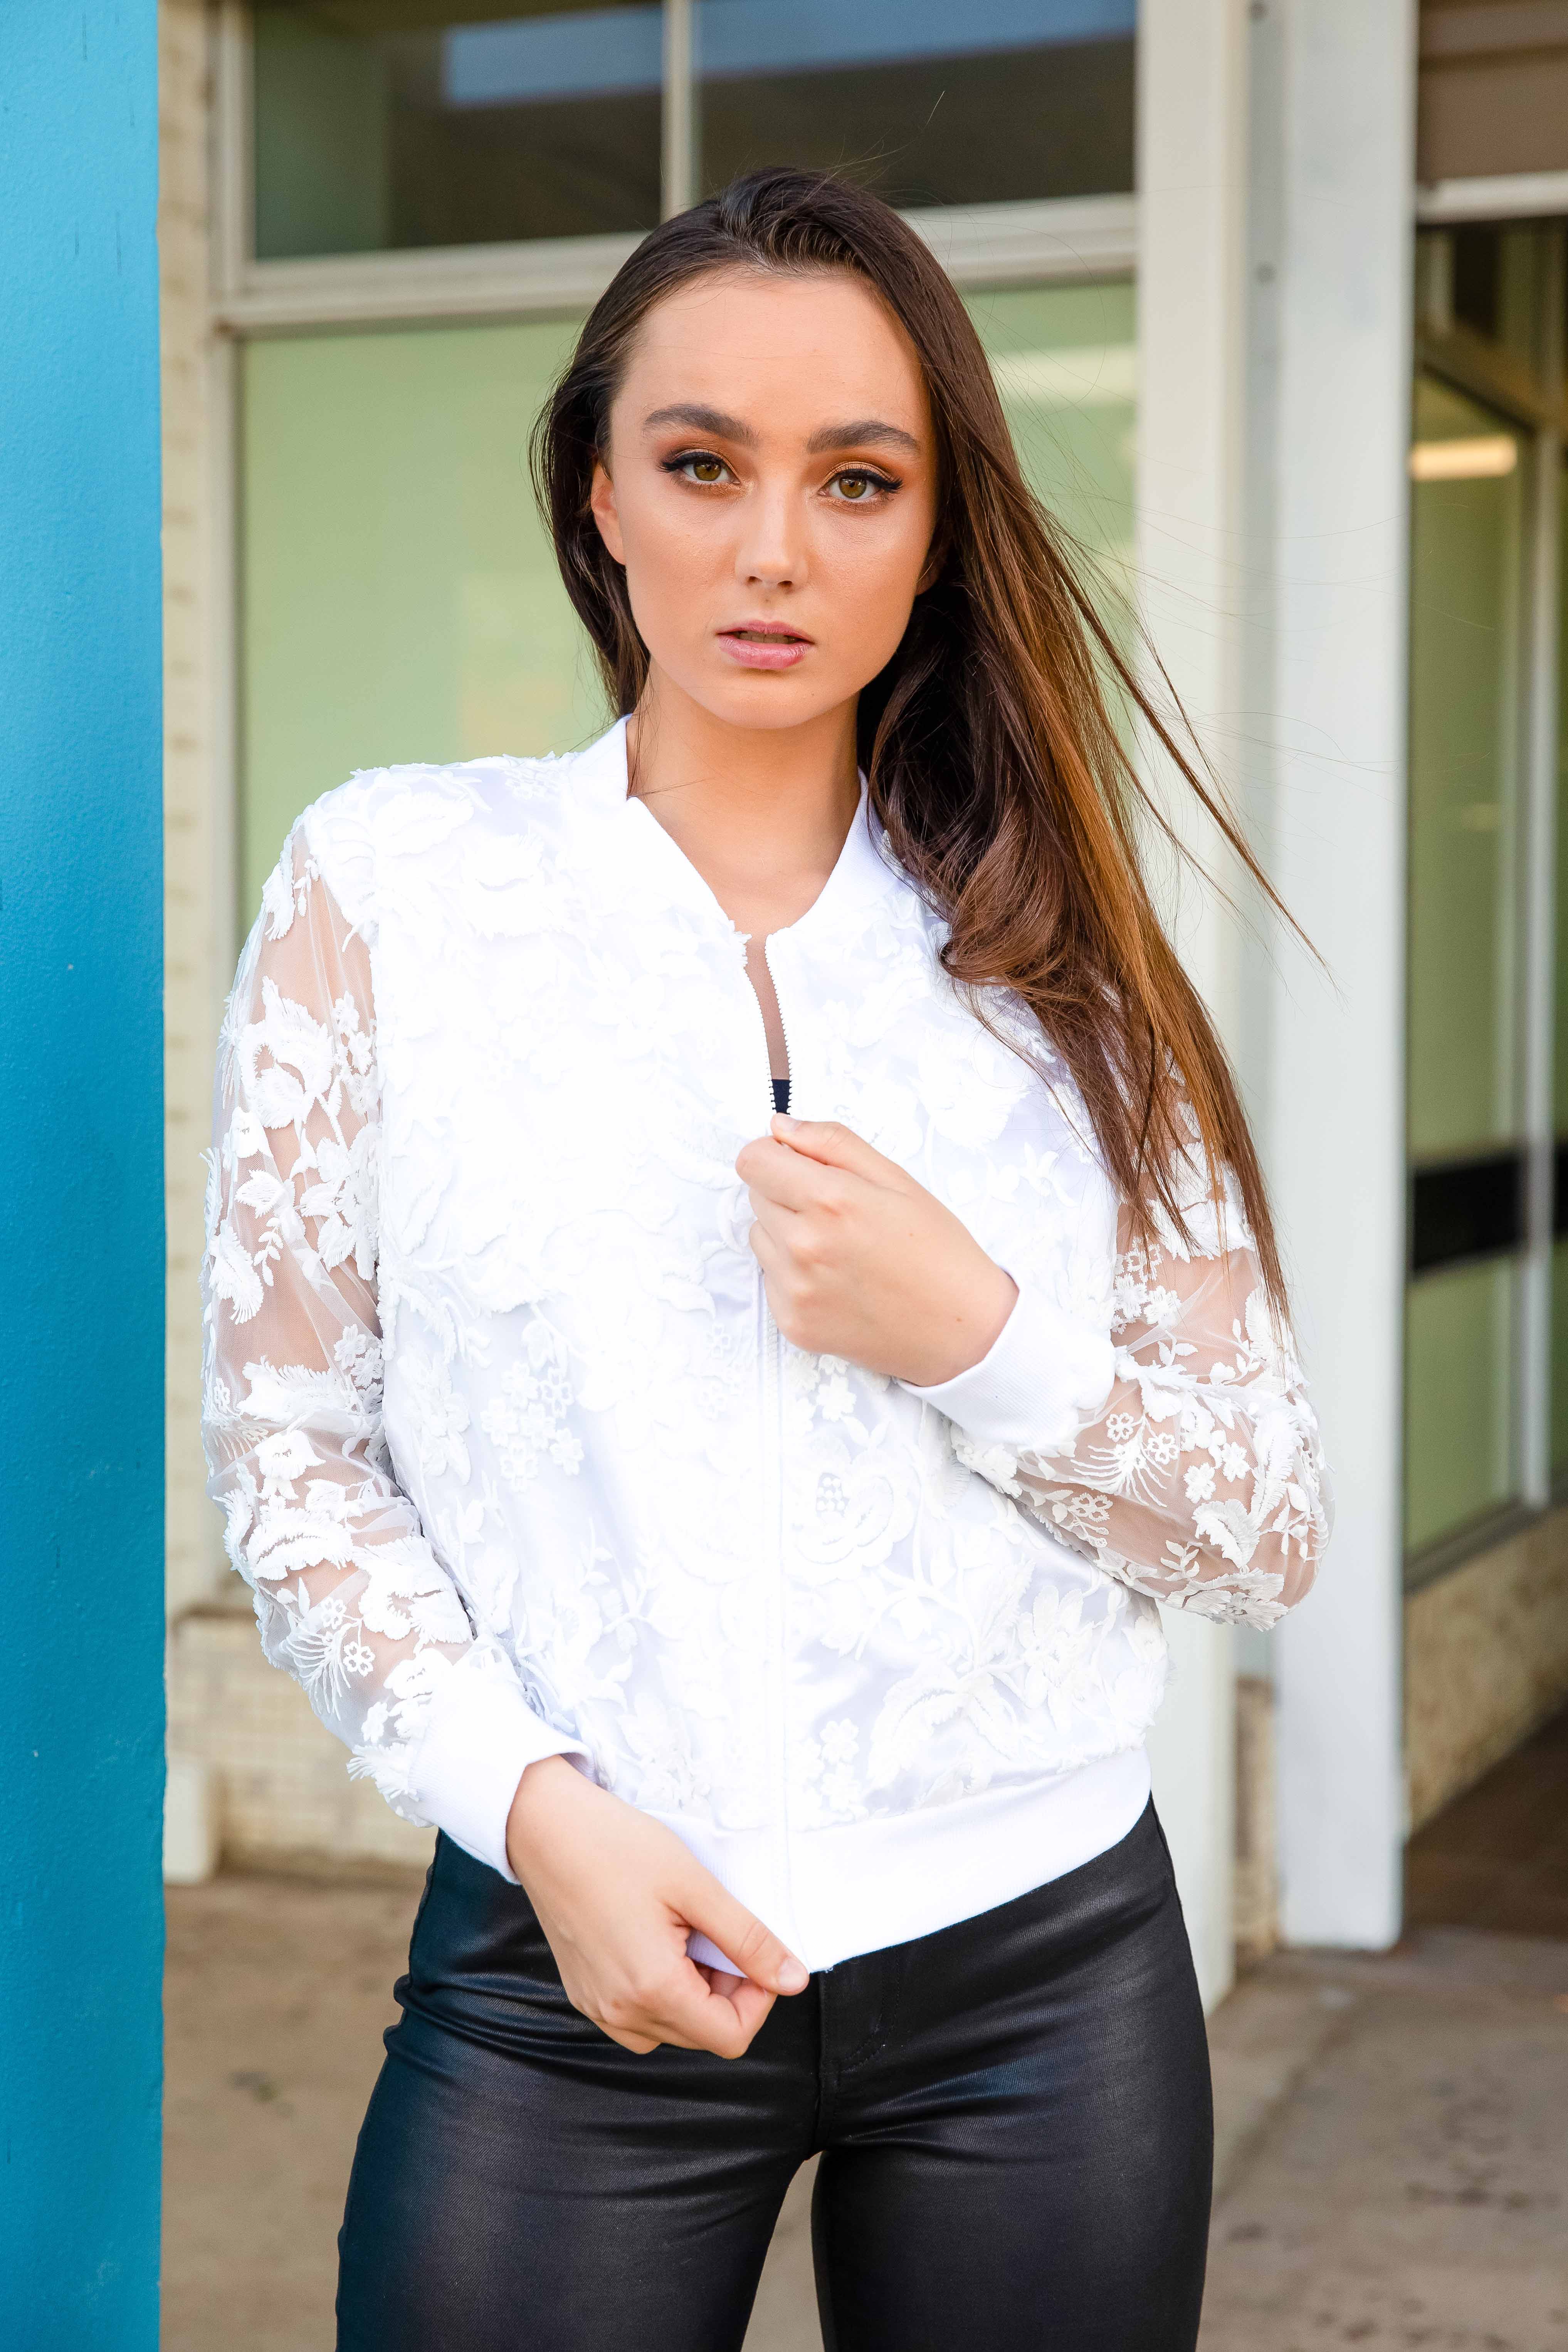
6. FIRE A RANGE OF PHOTOS
My last product photography idea for you is to not quit at one image per item.
Remember what I claimed about how consumers like to look, hold, use, as well as also try out merchandise in a shop, your internet site must fire a selection of images to imitate this extremely experience as high as feasible.This suggests shoot ore and increasingly more!
If you're shooting garments:
Capture the garment of garments alone-- that is, spread out on a white surface area.
On a mannequin whose colour contrasts the colour of the product.The finer detailers like zips and buttons
For extra pictures, have actually the clothing designed on a individual, permitting you to take pictures of the product from the person's different poses and angles.
IN THE LONG RUN
There you have it, my 6 product photography tips that will have you firing like a pro!
With these product photography suggestions, do not feel like you have to invest in every pointer and tool at once since you do not.Use these product photography ideas gradually as you shoot extra, as your creative thinking expands and also as your service expands to see what makes your store look the most presentable and also enticing to your target audience, as well as alter your method as your product photography gets better.